When we knew that we'd be doing this sideboard, we asked Mike to let us know what it would cost to get a butcher block top for it. He estimated $1500. $1500?!?! You've got to be s%$#ting me! There's got to be another way to achieve what we want without forking over that kind of cash.
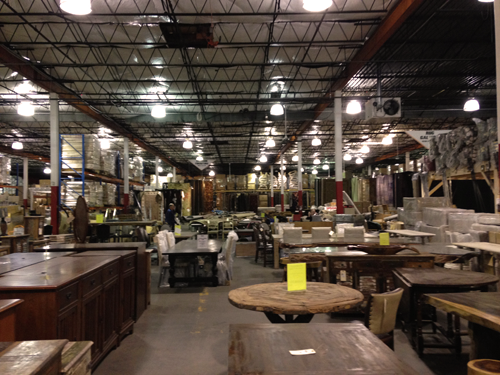
In my explorations around Huntsville to get house ideas, I ended up at Southeastern Salvage on Jordan Lane. They have a beaucoup of home items, from tables and chairs, to rugs and curtains, and even cabinets, flooring and COUNTERTOP options. More specifically, they have some butcher block tops. While they have a sea of stuff in their warehouse,
the only butcher block options they have are acacia or rubber wood. I'm not overly familiar with either type of wood, but the acacia has some color variances that don't really blend with what I was thinking, and the rubber wood has more of a maple look so that's what came home with us.
Conveniently the measurements were perfect for the 9' we needed. Even better? The cost: $129.00+tax!! Cue the happy dance:
The butcher block starts out as raw wood.
Yes, that's two different stains. Top is Dark Walnut, bottom is Jacobean; both by Minwax. See that pale spot in the center of the board? That's a spot that has had wood filler put in it. Obviously, it doesn't absorb the stain like the rest of the wood. Shucks! I don't want that on the countertop... A little more sanding ought to help!
Well, hope that worked. And only one way to find out! I picked the stain Dark Walnut, a low-lint (because I don't know that any cloth is really "lint-free"), and got to staining. I worked quickly, keeping the stain from creating any wet-to-dry lines on the surface of the wood. I felt pretty happy with the color.
But those spots!! Ugh! If a tree had the chicken pox I imagine it'd look a lot like the picture above. Well, that just won't do. After doing some more reading, most recommendations include stripping the stain off, scraping off what wood filler and it's residue you can, and stain again. So that's just what we do over the weekend.
So now we're currently left with a butcher block piece of wood with beautifully routed edges, exceptionally sanded spots, and barely buffed areas that have substantial stain retention. The more we scrape, the more we sand, the more I worry about the overall texture and look of the wood. Will we be able to see the scrapes? Will that dag-blasted wood filler go back to the hell from whence it came? Will the stain even look good in the end? To be honest, we're not finished. I don't know what we'll have in the end. And even after the wondering and working at it, I'm still happy we haven't spent anywhere near that $1500. We'll keep plugging away and I'll be sure to fill you in on the final result. Current recommendations: if you're going to choose a butcher block top, go with one that has little to no wood filler previously put in (as there is a method to do wood filler wherein stain does absorb better than what we have, so you're safer just doing your own); also, if you have wood filler spots that you're concerned about, go with a lighter stain. I tried Special Walnut on the back of that 1 foot spare piece and it looked nice, more of the natural wood color really, but seemed like it would more adequately blend with the wood filler spots.
P.S. They dropped off our flooring on Friday!! You know you're getting close when the floors show up!


No comments:
Post a Comment